Ubuntu+deepseek+Dify+xinference+RAGFLOW本地部署
1.deepseek本地部署
在Ollama官网下载
需要魔法下载
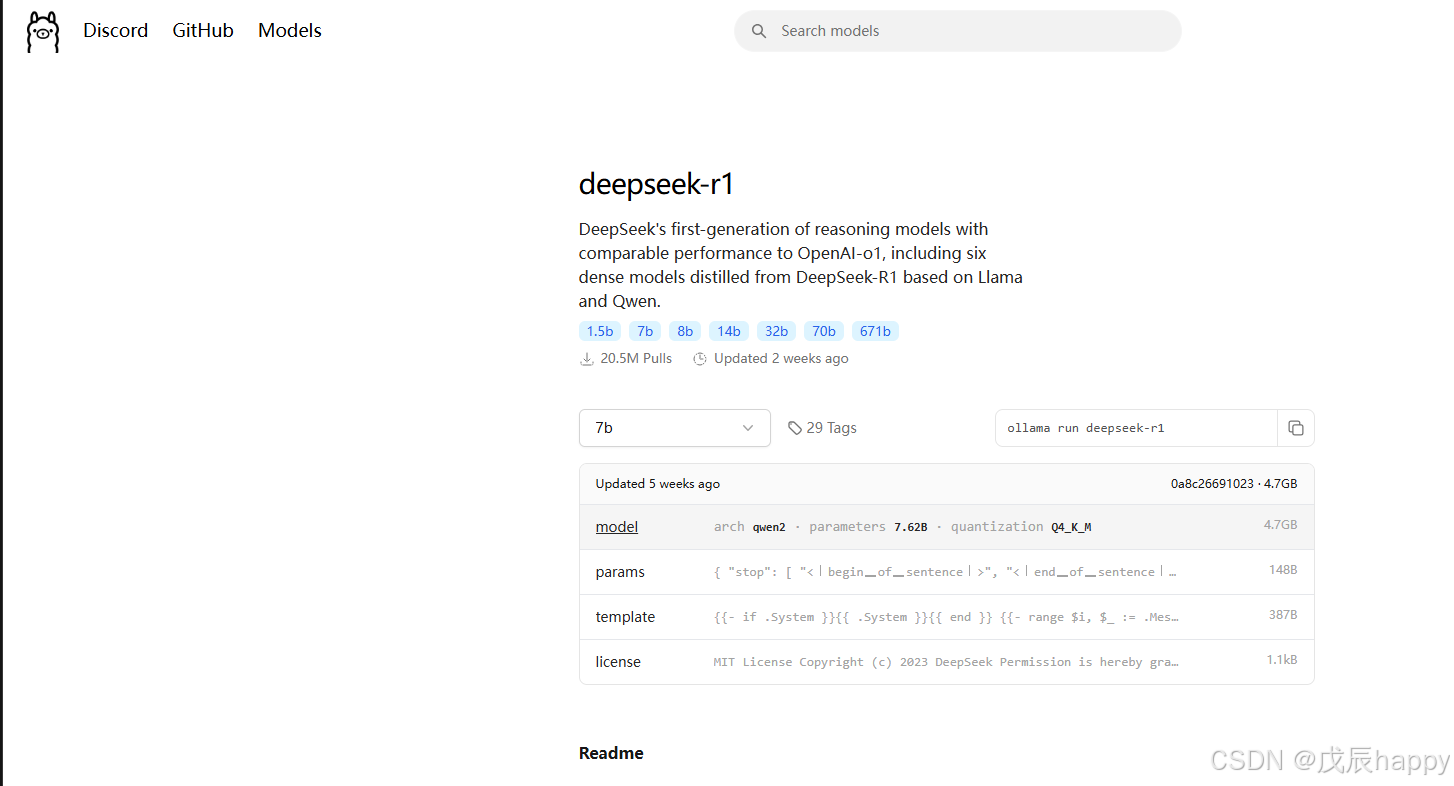
curl -fsSL https://ollama.com/install.sh | sh在官网找到需要下载的deepseek模型版本
复制命令到终端
ollama run deepseek-r1:7b停止ollama服务
sudo systemctl stop ollama # sudo systemctl stop ollama.service开启ollama服务
sudo systemctl start ollama.service查看ollama服务状态
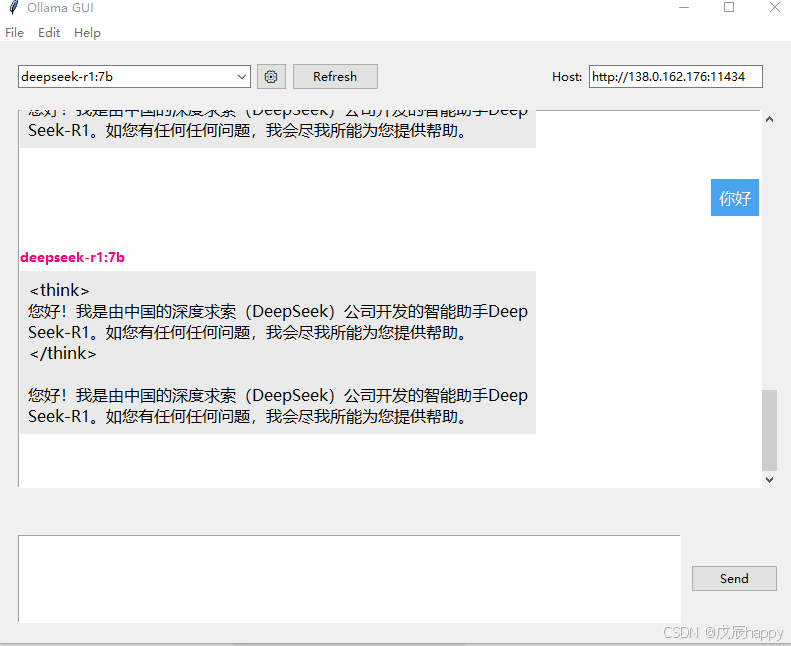
sudo systemctl status ollama.service使用allama_gui
一个简易界面来使用模型
- 安装:python -m pip install ollama_gui
- 运行:python -m ollama_gui
2.Dify本地部署
安装好docker
git clone https://github.com/langgenius/dify.gitcd dify
cd docker
cp .env.example .env
#########
#在.env文件的最后添加
#启用自定义模型
CUSTOM_MODEL_ENABLED=true
#指定Ollama的API地址(根据部署环境调整IP)
OLLAMA_API_BASE_URL=host.docker.internal:11434OLLAMA_API_BASE_URL=host.docker.internal:11434
########
docker compose up -d此处若报错
+] Running 9/9
 ✘ sandbox Error       Cannot connect to the Docker daemon at unix:///var...                3.8s
 ✘ api Error           Cannot connect to the Docker daemon at unix:///var/run...            3.8s
 ✘ worker Error        Cannot connect to the Docker daemon at unix:///var/...               3.8s
 ✘ weaviate Error      Cannot connect to the Docker daemon at unix:///va...                 3.8s
 ✘ web Error           Cannot connect to the Docker daemon at unix:///var/run...            3.8s
 ✘ db Error            Cannot connect to the Docker daemon at unix:///var/run/...           3.8s
 ✘ ssrf_proxy Error    Get "https://registry-1.docker.io/v2/": proxyco...                   3.8s
 ✘ redis Error         Get "https://registry-1.docker.io/v2/": proxyconnect...              3.8s
 ✘ plugin_daemon Error Cannot connect to the Docker daemon at unix:...                      3.8s
Error response from daemon: Get "https://registry-1.docker.io/v2/": proxyconnect tcp: dial tcp 11.0.250.2:10023: connect: connection refused
配置代理下载
systemctl edit docker.service[Service]
Environment="HTTP_PROXY=http://ip:port/"
Environment="HTTPS_PROXY=http://ip:port/"
Environment="NO_PROXY=localhost,127.0.0.0/8"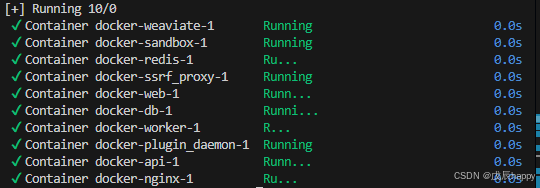
访问http://localhost/install 如果服务器没有界面可在另外浏览器访问http://服务器IP/install

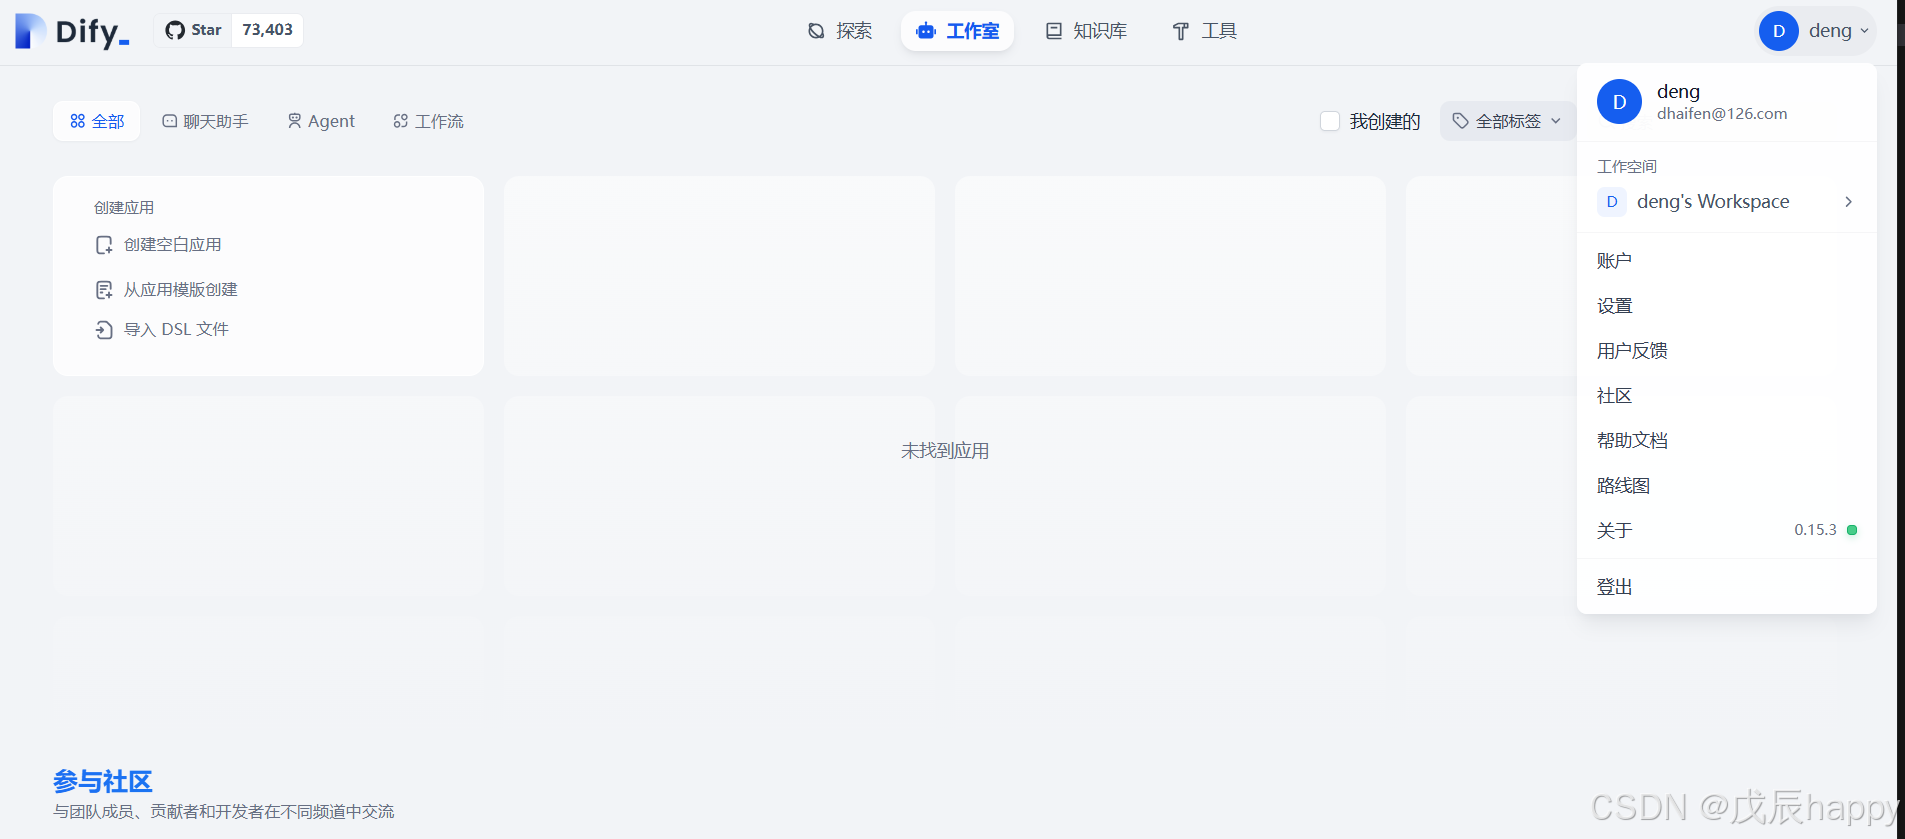
登陆后进入界面点击右上角设置
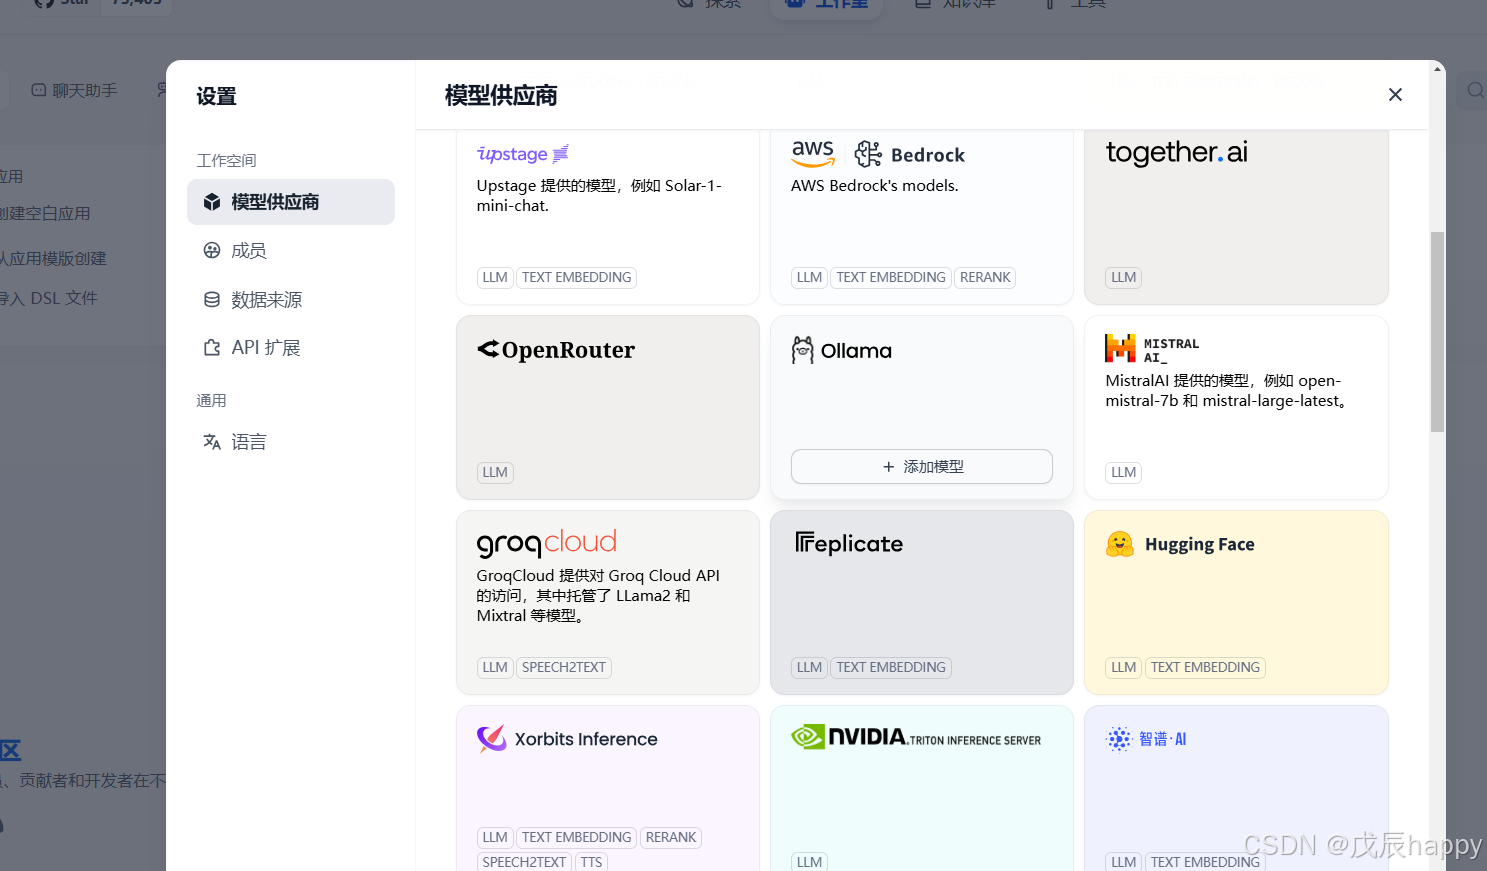
点击模型供应商下滑找到Ollama
点击添加模型
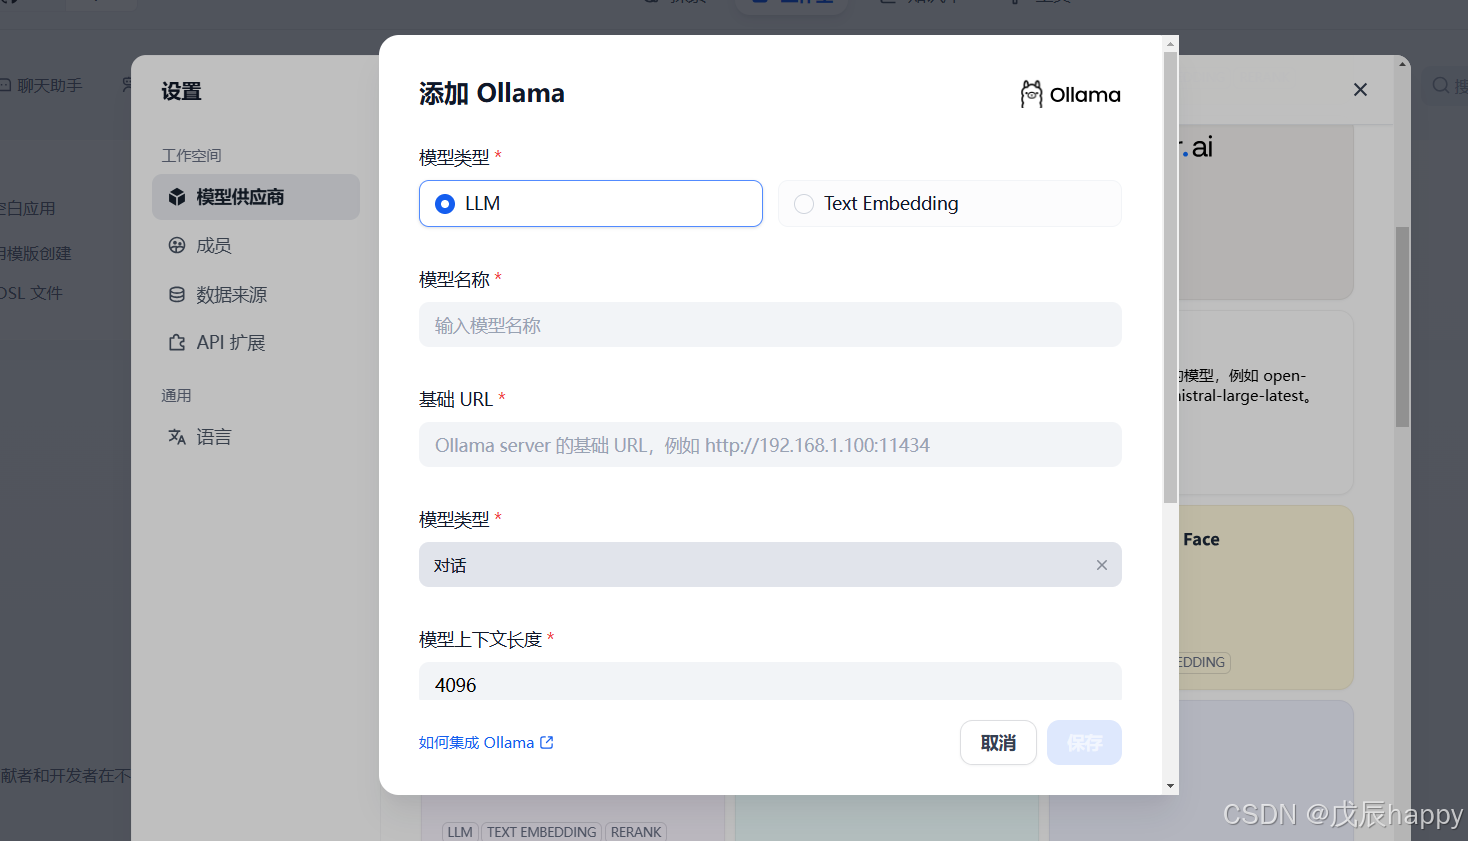 服务器终端输入ollama list找到添加的模型名称拷贝输入

基础URL填入可能报错
2f0>: Failed to establish a new connection: [Errno 111] Connection refused'))解决办法
systemctl edit ollama.service对于每个环境变量,在 [Service] 部分下添加一行 Environment
[Service]
Environment="OLLAMA_HOST=0.0.0.0"
ollama有keep_alive参数用来控制模型在内存中保留的时间。
keep_alive 参数可以设置为:
- 一个持续时间字符串(例如 “10m” 或 “24h”)
- 一个以秒为单位的数字(例如 3600)
- 任何负数,这将使模型无限期地保留在内存中(例如 -1 或 “-1m”)
- ‘0’ 这将使模型在生成响应后立即卸载
方法一:执行请求时设置 keep_alive 为 -1
curl http://localhost:11434/api/generate -d '{"model": "llama3", "keep_alive": -1}'方法二:在ollama.service 中加入
Environment="OLLAMA_KEEP_ALIVE=-1"systemctl daemon-reload
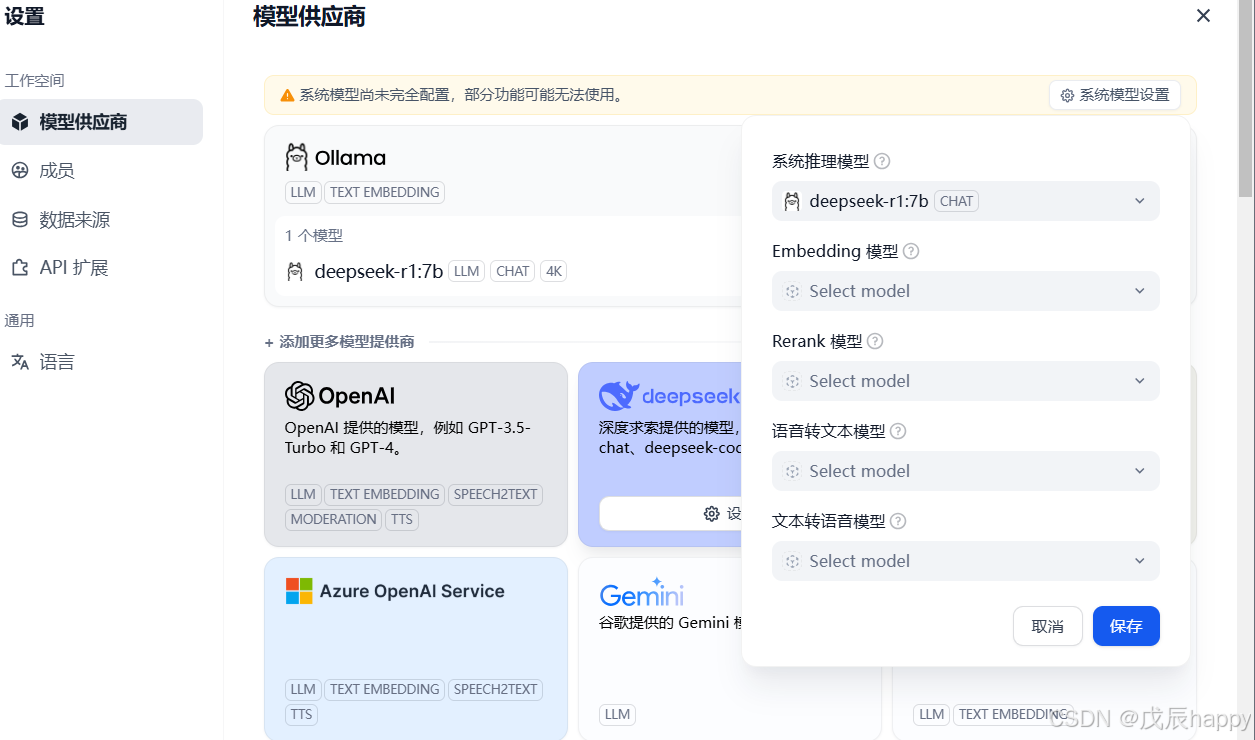
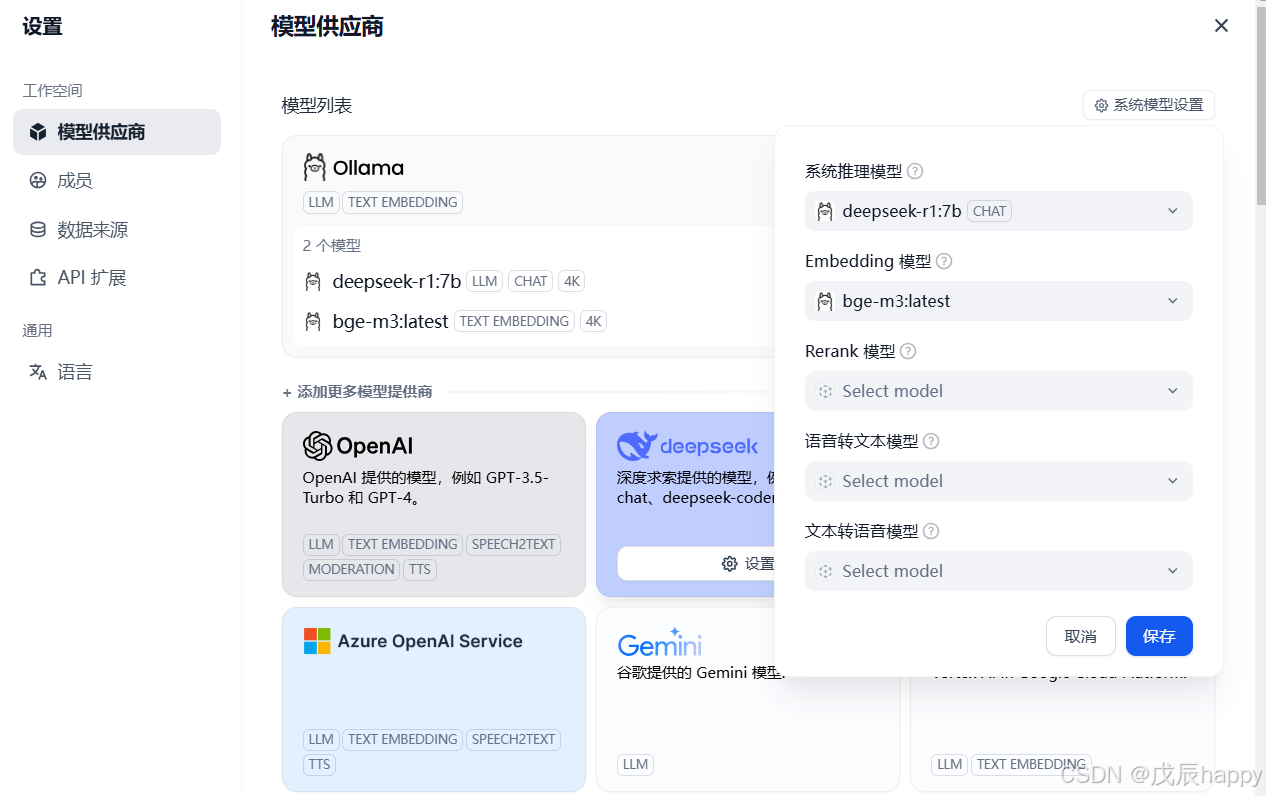
systemctl restart ollama添加模型以及基础的URL之后,在右上角的系统设置中添加基本模型,找不到就刷新页面重试
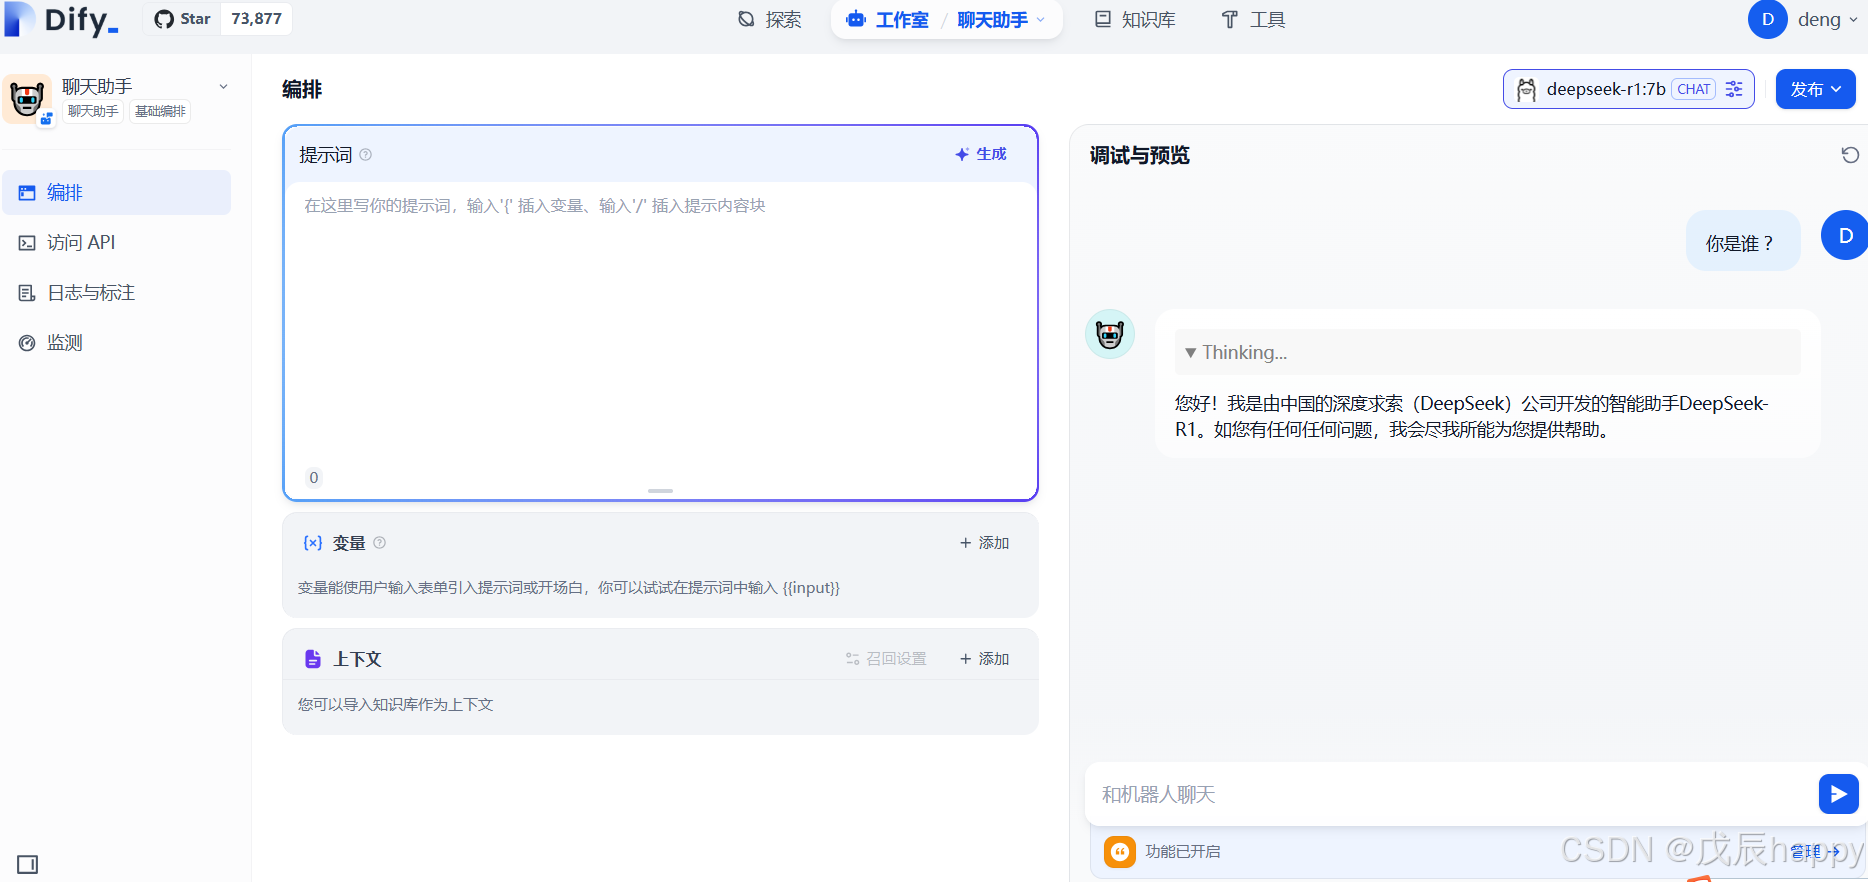
点击创建空白应用

输入应用名称并点击创建

在界面中进行对话
打造本地的RAG
选择bge-m3 或者 nomic-embed-text模型
在终端执行命令
ollama pull bge-m3 #ollama pull nomic-embed-text下载完毕后在模型供应商中添加嵌入模型
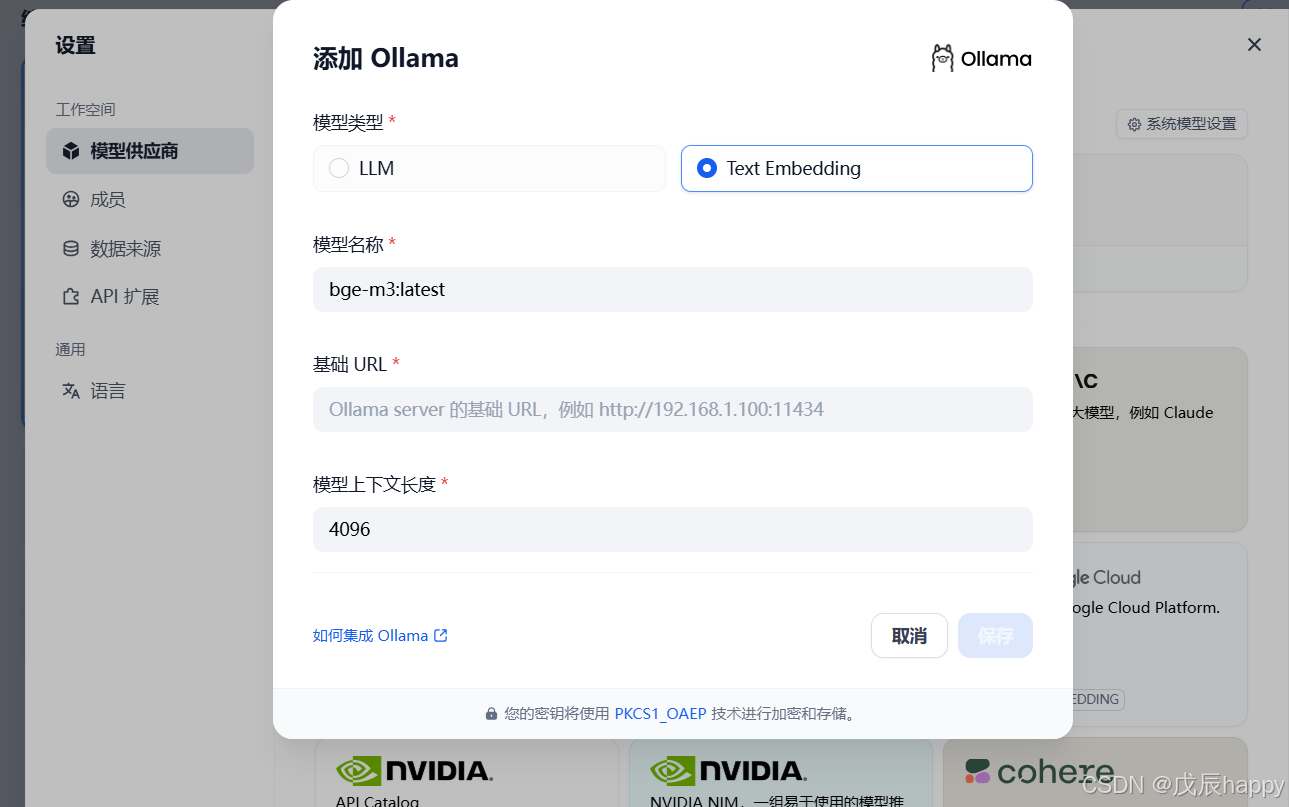
保存后出现在系统模型设置里面添加模型,若没有出现刷新页面即可
点击知识库
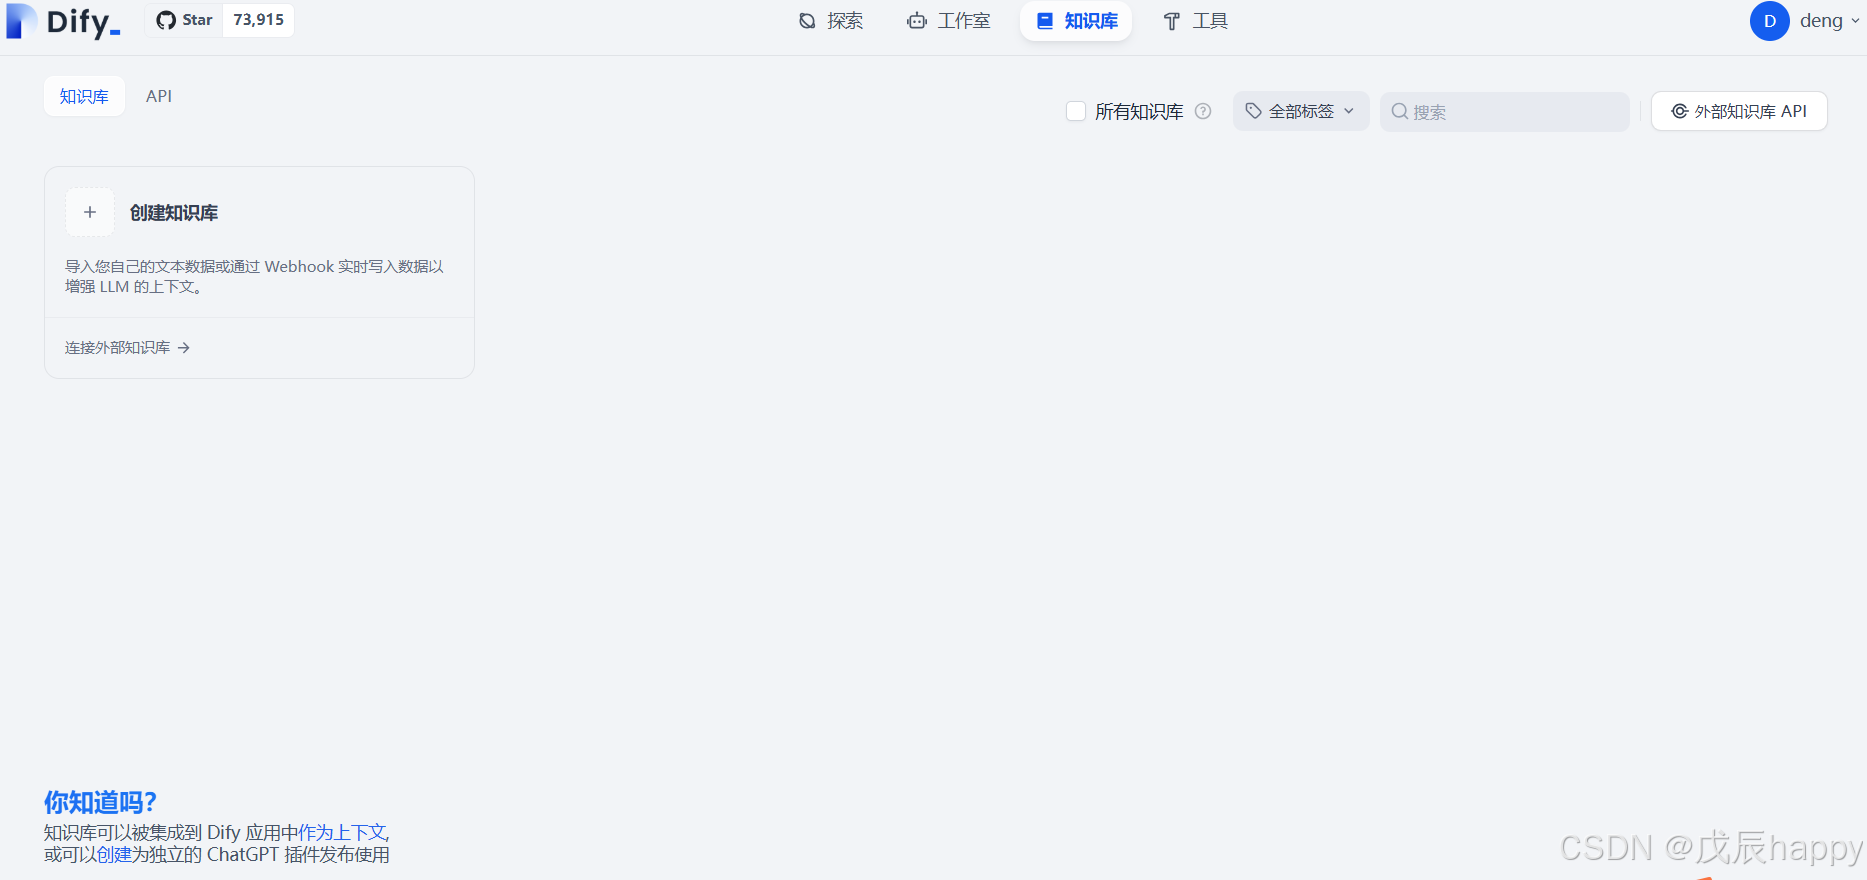
点击创建知识库

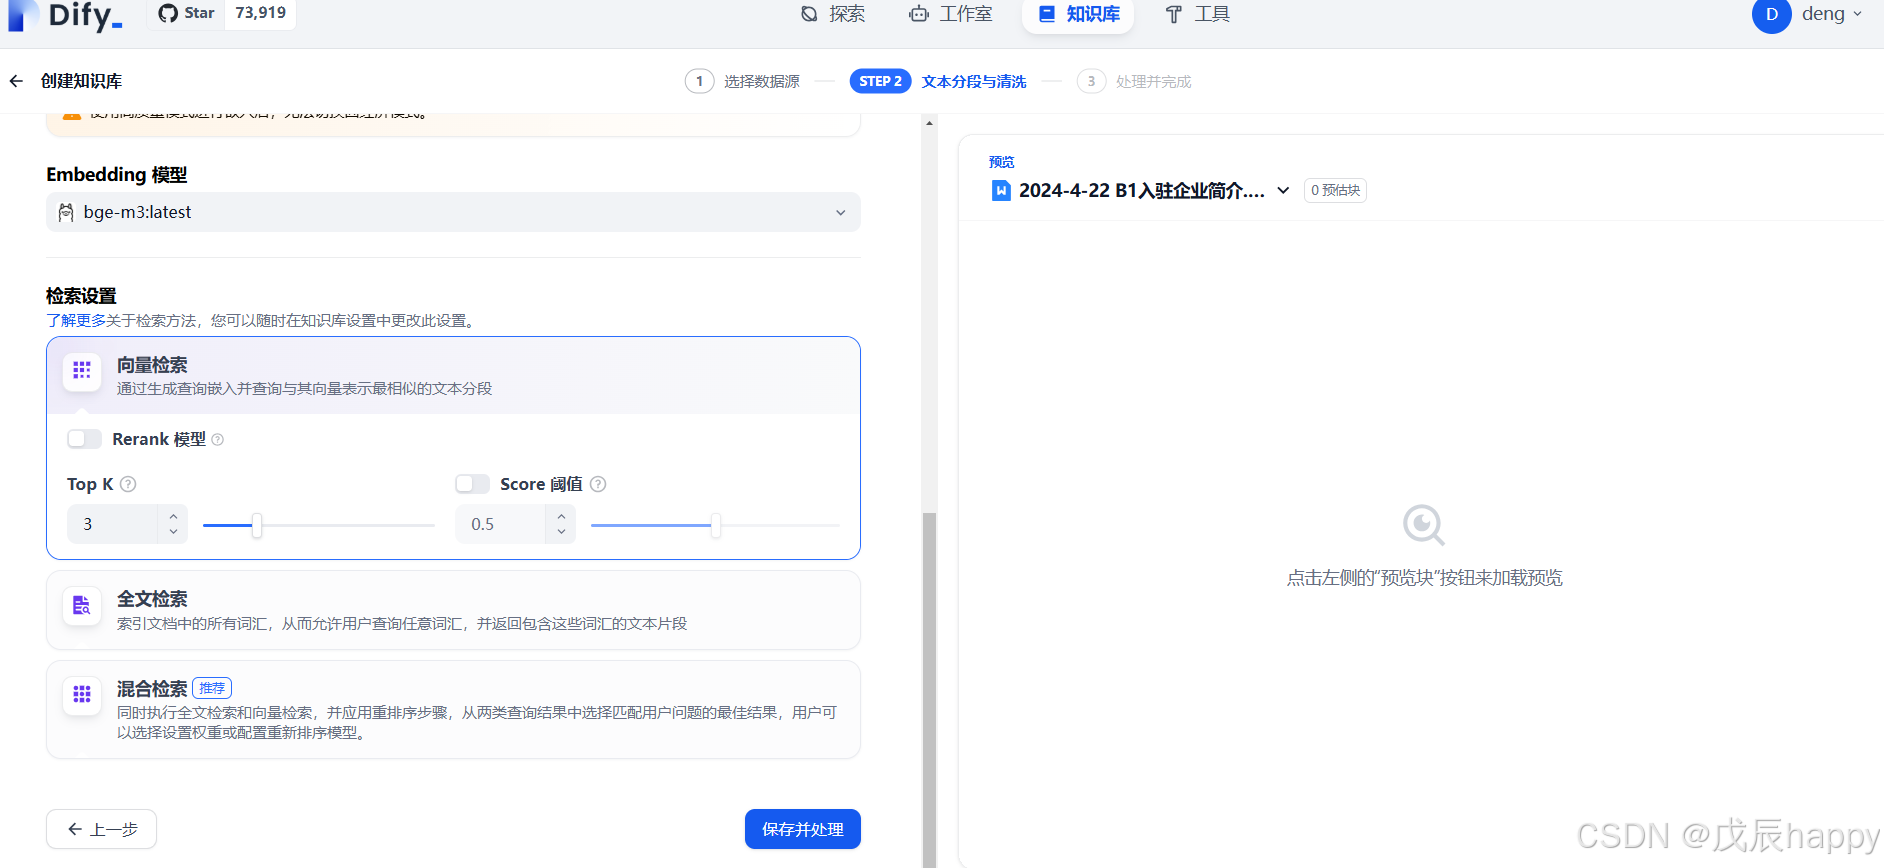
上传文档后点击下一步,默认设置不用改,点击保存并处理即可
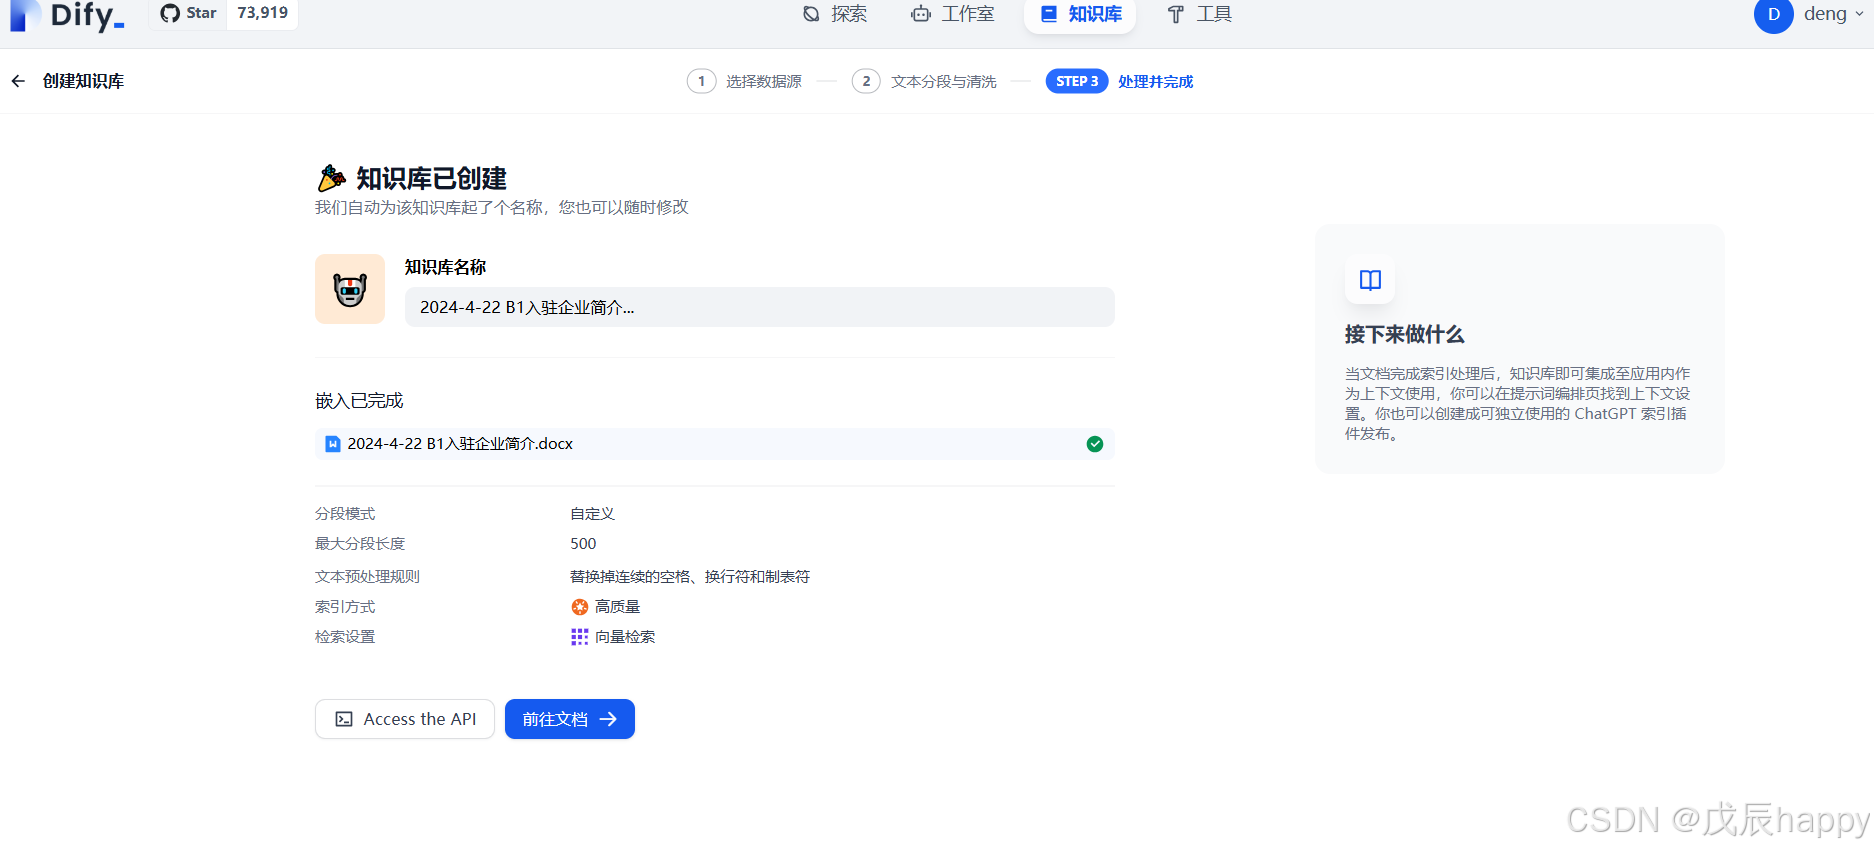
出现一下界面创建完成
点击工作室和聊天助手

点击上下文添加按钮添加文档

在对话框提问即可

API调用python实现
import requests
import json

# API的基本信息
url = 'your-API/chat-messages'  # 替换为实际的API端点
api_key = 'your-API_KEY'  # 替换为你的API密钥

# 设置请求头
headers = {
    'Authorization': f'Bearer {api_key}',
    'Content-Type': 'application/json'
}

# 设置请求数据
data = {
    "inputs": {
        # "text": "你的输入文本"
    },
    "query": "你好",
    "responsemode": "blocking",
    "conversationid": "",
    "user": "1"
}

# 发送POST请求
response = requests.post(url, headers=headers, json=data)

# 检查响应
if response.status_code == 200:
    # 请求成功,解析JSON响应
    print(response.json())
else:
    # 请求失败,打印错误信息
    print(f"Error: Received status code {response.status_code}")
    print(response.text)
Xinference
安装Xinference
conda create --name xinference python=3.10
conda activate xinference
pip install ChatTTS -i https://pypi.tuna.tsinghua.edu.cn/simple
pip install xinference -i https://pypi.tuna.tsinghua.edu.cn/simple
启用服务
xinference-local -H 0.0.0.0通过以下网址访问,默认端口9997
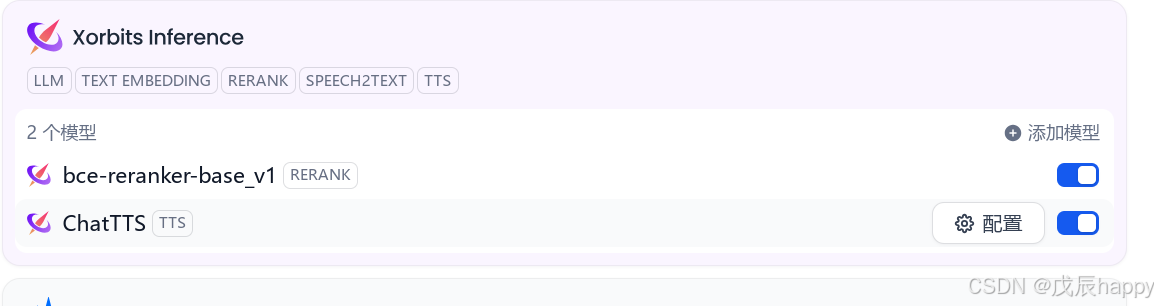
http://localhost:9997在 Lauch Model->中选择需要配置的模型,然后在Dify中配置
Ragflow配置
配置环境
CPU >= 4 cores
RAM >= 16 GB
Disk >= 50 GB
Docker >= 24.0.0 & Docker Compose >= v2.26.1
下载
https://github.com/infiniflow/ragflow.git 检查 vm.max_map_count >= 262144:
sysctl vm.max_map_count设置
sudo sysctl -w vm.max_map_count=262144
修改配置
dify和RAGflow端口冲突
修改docker-compose.yml
services:
  ragflow:
    depends_on:
      mysql:
        condition: service_healthy
    image: ${RAGFLOW_IMAGE}
    container_name: ragflow-server
    ports:
      - ${SVR_HTTP_PORT}:9380
      - 8080:80
      - 8443:443
      - 5678:5678
      - 5679:5679
.env文件修改,因为slim的镜像没有文档向量化模型,修改为另外一个模型
REDIS_PASSWORD=infini_rag_flow

# The port used to expose RAGFlow's HTTP API service to the host machine,
# allowing EXTERNAL access to the service running inside the Docker container.
SVR_HTTP_PORT=9380

# The RAGFlow Docker image to download.
# Defaults to the v0.17.2-slim edition, which is the RAGFlow Docker image without embedding models.
# RAGFLOW_IMAGE=infiniflow/ragflow:v0.17.2-slim
RAGFLOW_IMAGE=swr.cn-north-4.myhuaweicloud.com/infiniflow/ragflow:v0.17.2
运行下面命令下载安装,建议增加-p参数做隔离
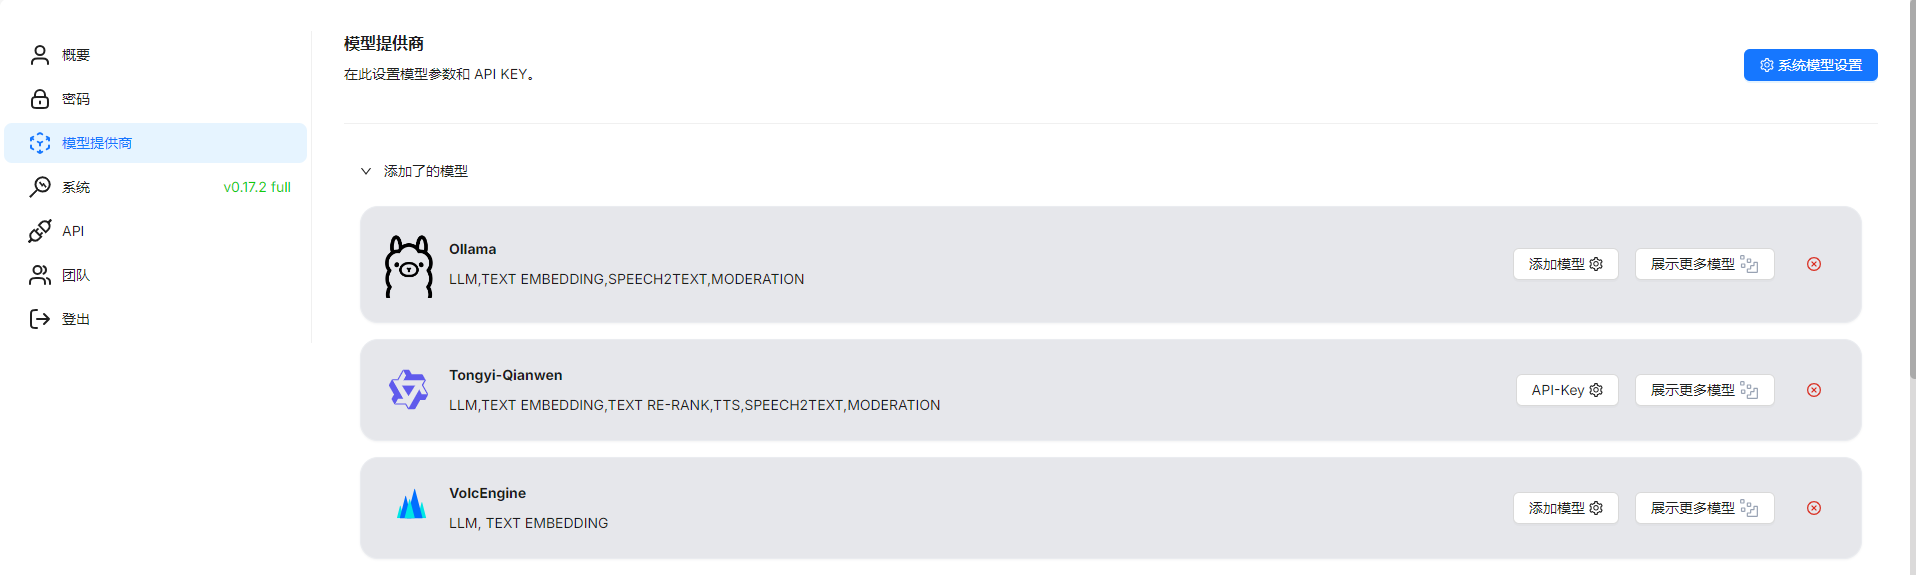
sudo docker compose -p ragflow -f docker-compose.yml up -d需要现在模型供应商中添加模型
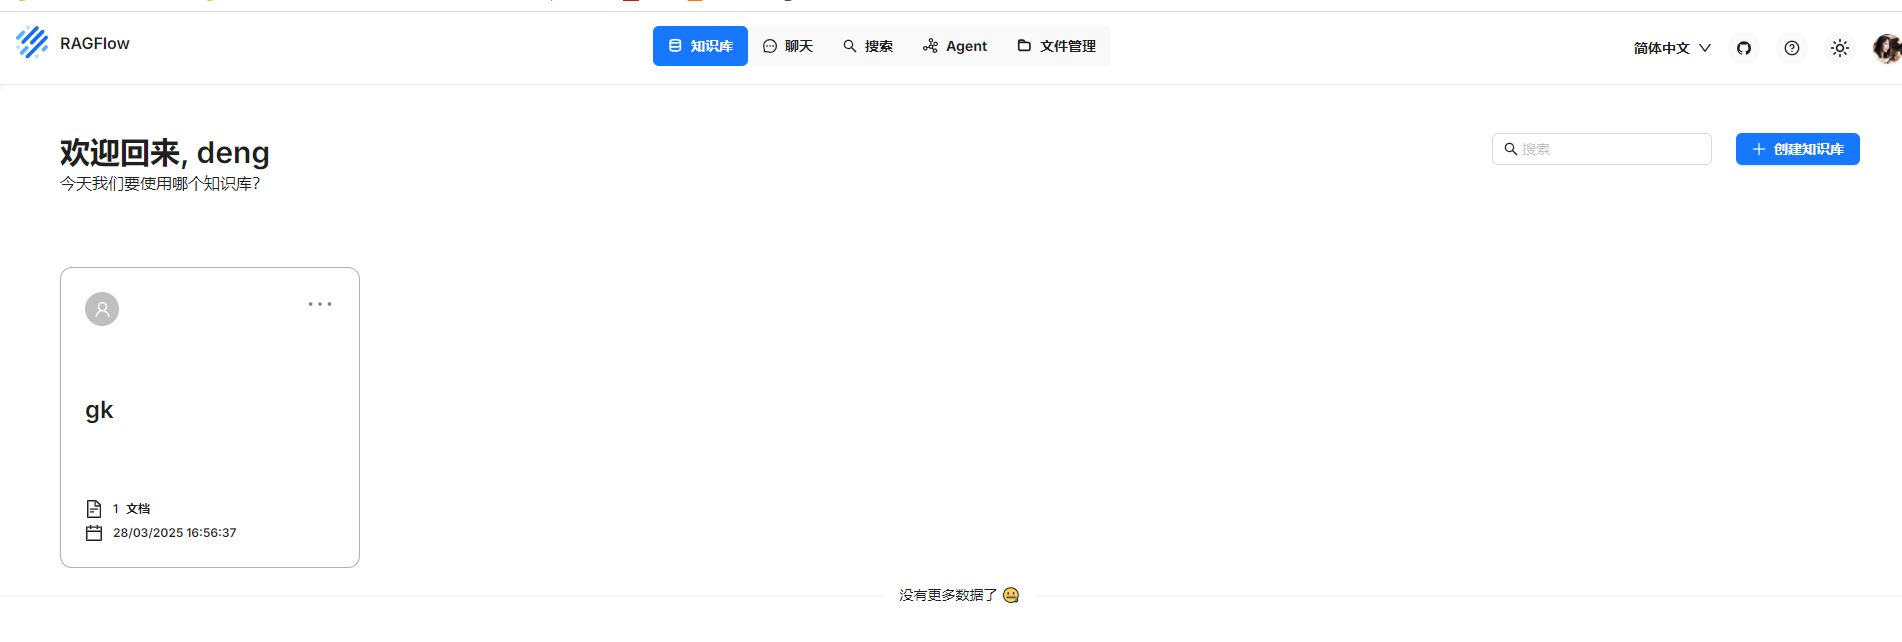
选择知识库创建知识库
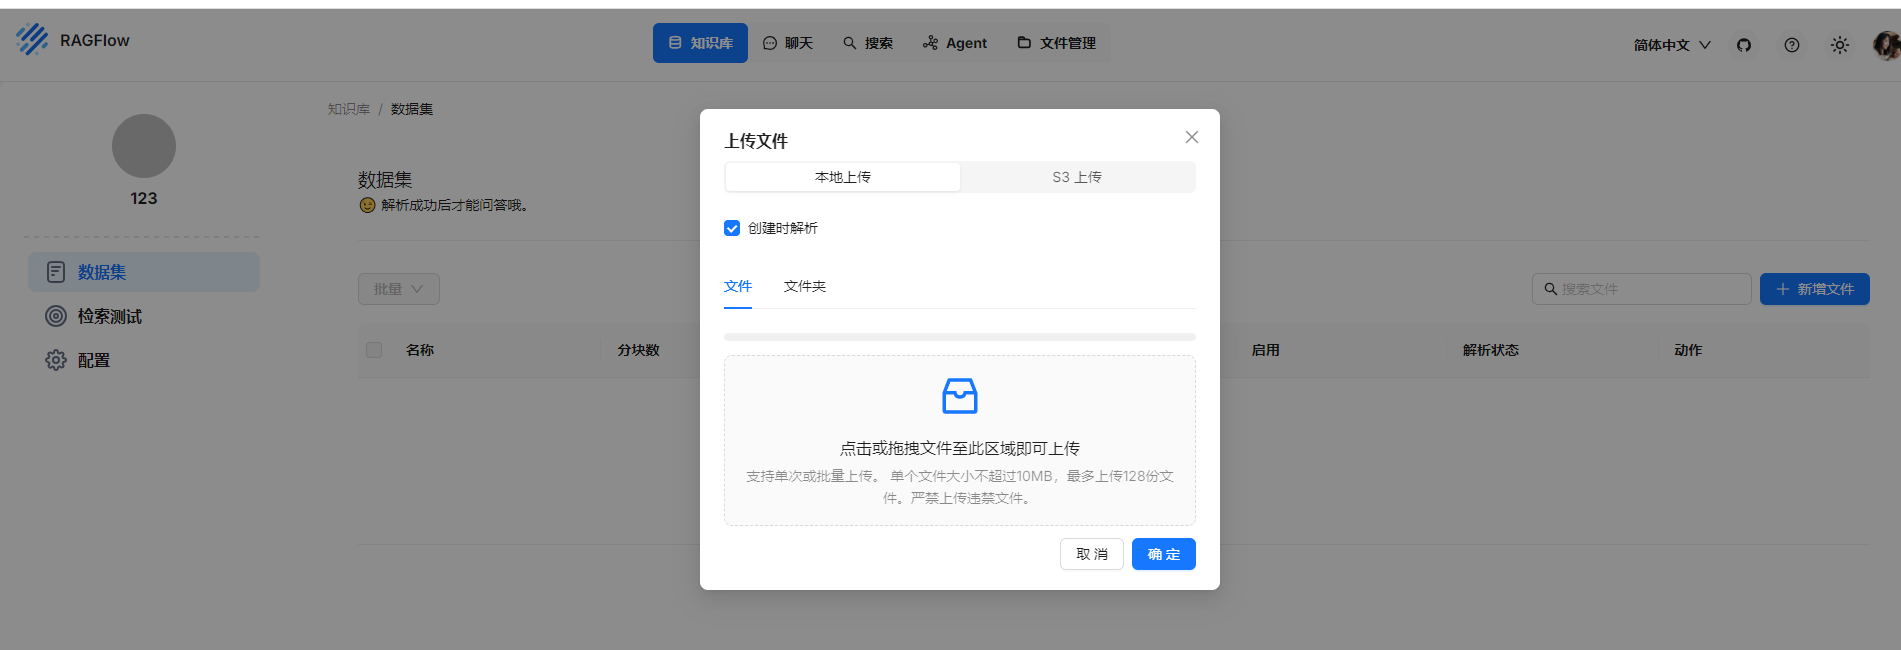
上传知识库时候选择创建时解析
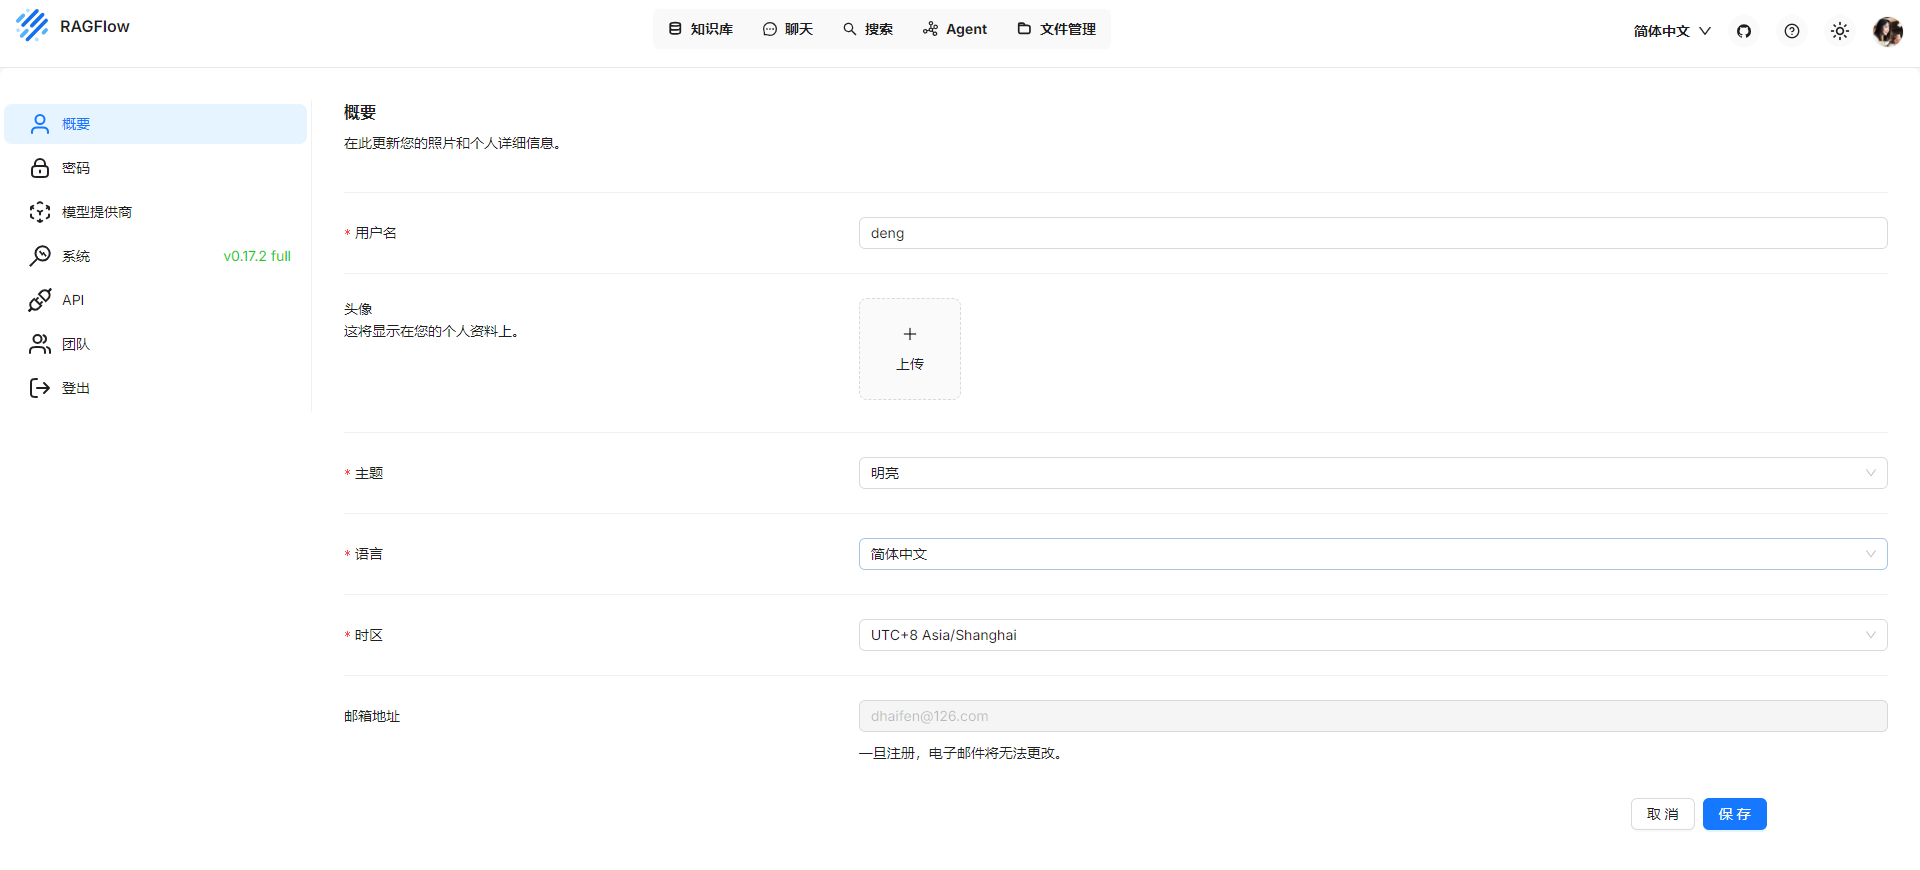
点击右上角头像选择API
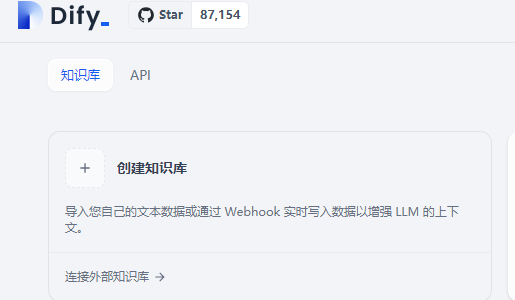
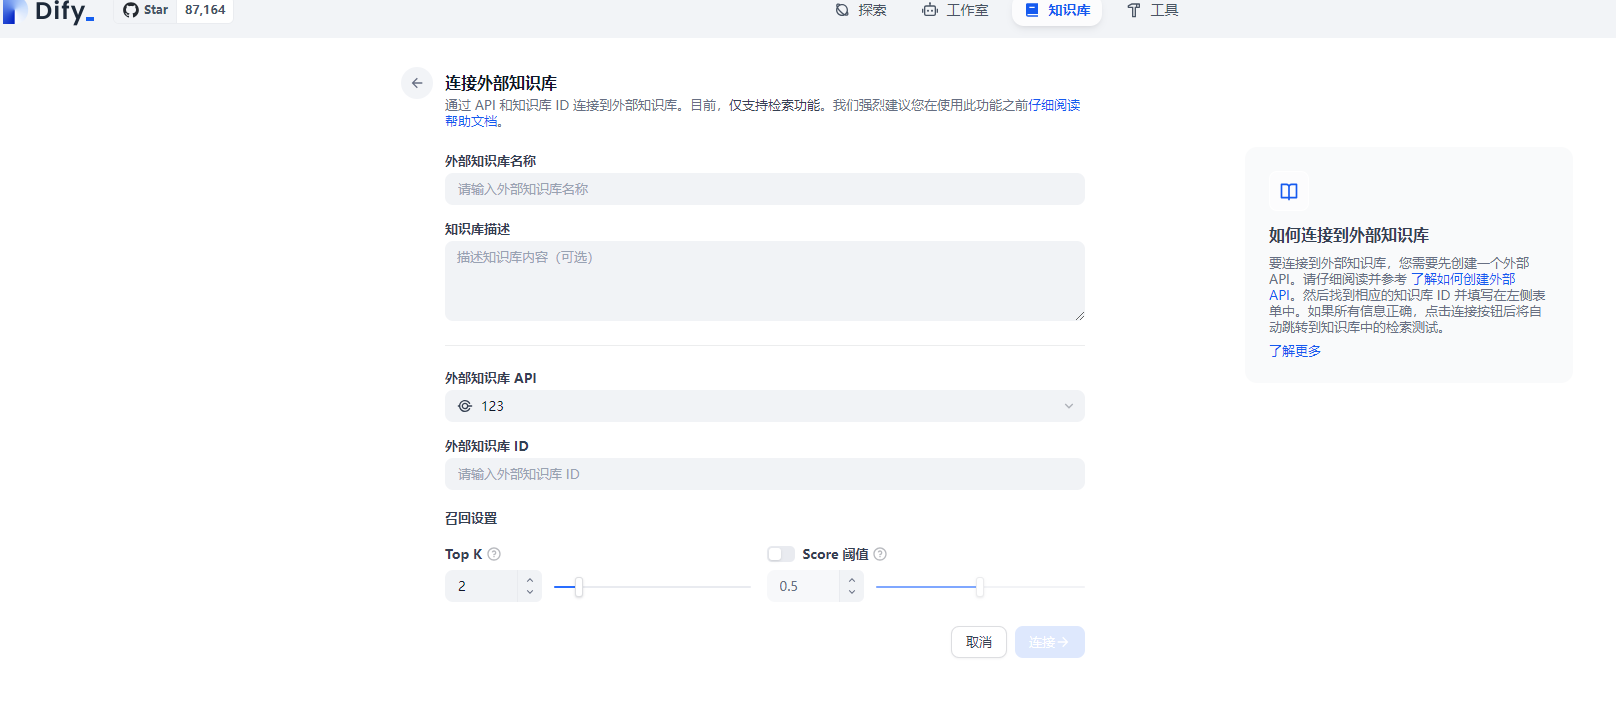
在dify中点击添加外部知识库
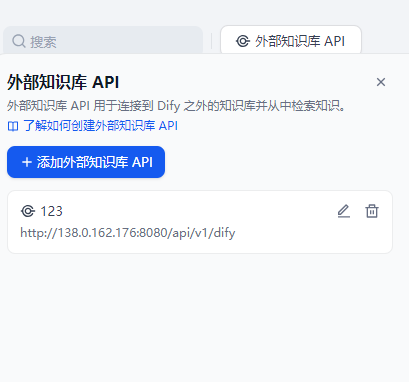
注意url配置http//ip/api/v1/dify
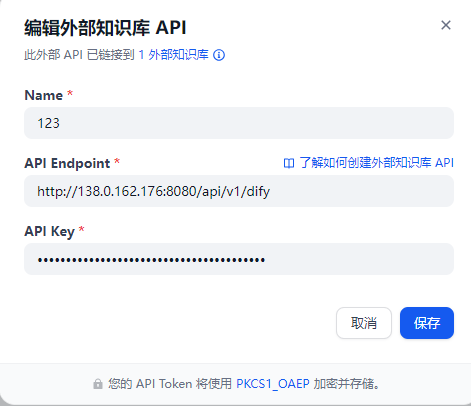
点击连接外部知识库
填写完成即可,外部知识库ID在RAGFLOW的知识库点开,网址中id=XXX,复制过来即可
参考链接
https://zhuanlan.zhihu.com/p/22000177368
https://zhuanlan.zhihu.com/p/5161920338