docker部署FunASR离线文件转写服务,纯CPU+nginx高并发+简化官方页面
这里写目录标题
- 1.部署环境
- 2.下载项目文件的ZIP压缩包
- 3.输入以下命令拉取docker镜像
- 4.创建本地目录
- 5.启动镜像
- 6.进入容器并启动服务
- 7.配置nginx实现高并发
- 8.打开服务器防火墙对应的端口
- 9.测试
- 附言:
1.部署环境
(1)操作系统:Ubuntu server 22.04.2 LTS
(2)已安装docker
(3)部署版本:funasr-runtime-sdk-online-cpu-0.1.12
(4)官方github地址:https://github.com/modelscope/FunASR
(5)云服务器:2核4G
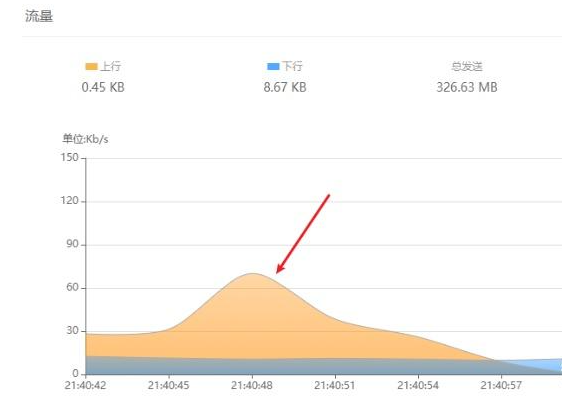
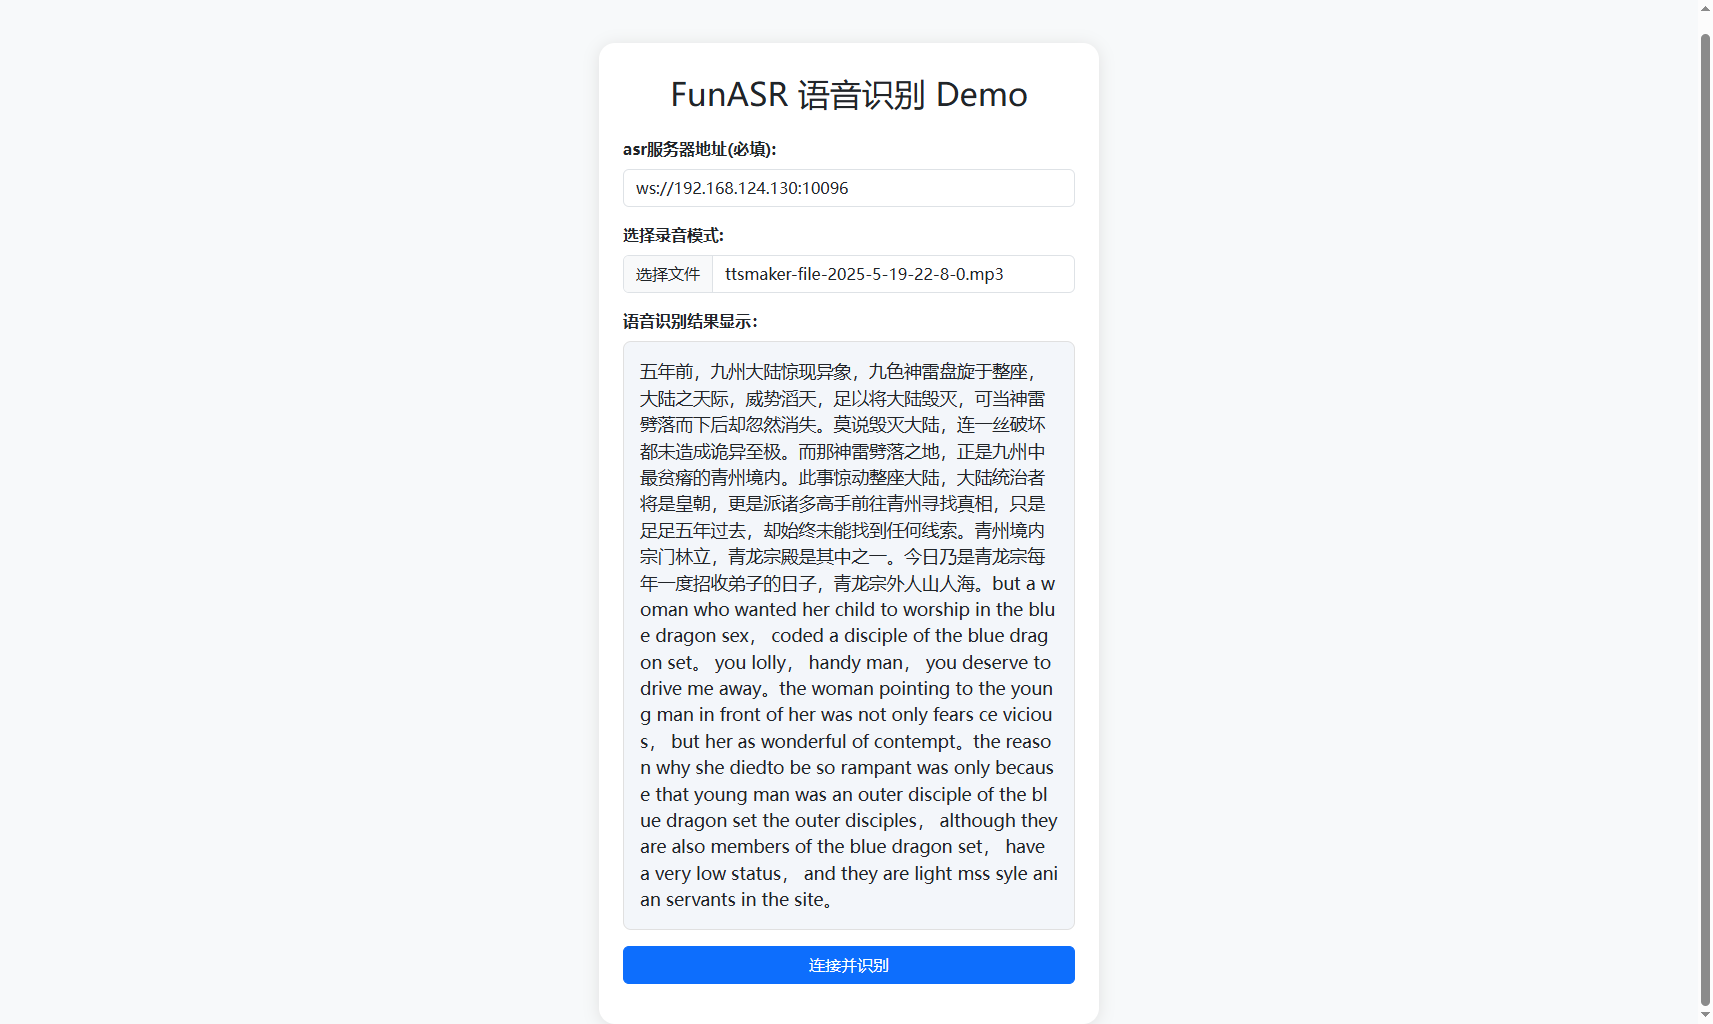
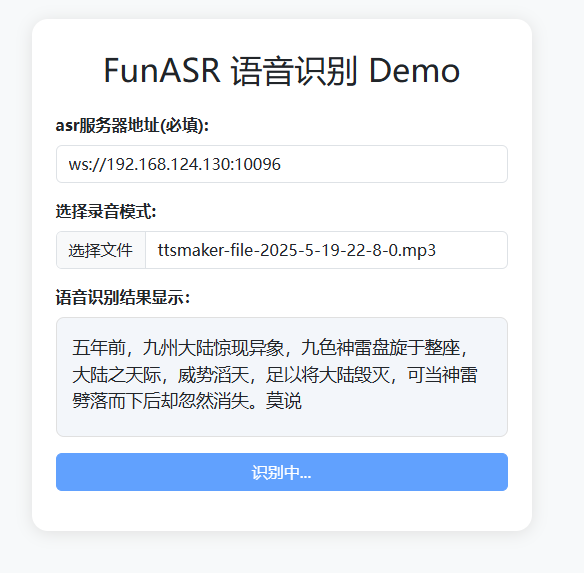
(6)下面是最终的效果:
2.下载项目文件的ZIP压缩包
(1)123云盘(无需登录即可下载):https://www.123684.com/s/dUCojv-aRGO3
(2)里面的static目录下包含了5个文件:修改过的html文件和main.js,4个处理音频需要的js文件
(3)如图所示:

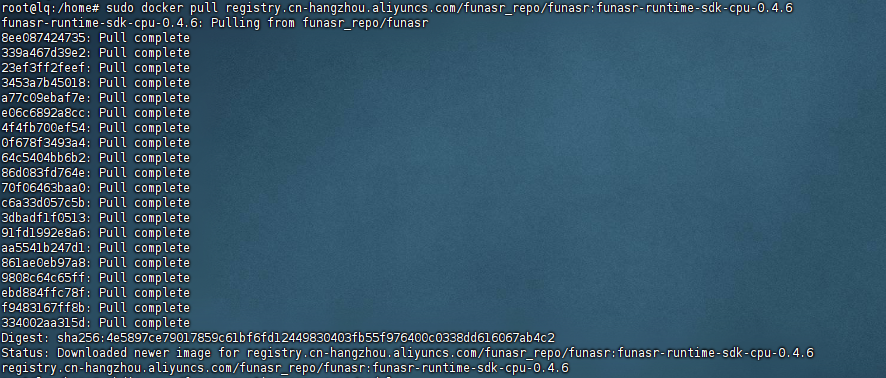
3.输入以下命令拉取docker镜像
sudo docker pull registry.cn-hangzhou.aliyuncs.com/funasr_repo/funasr:funasr-runtime-sdk-cpu-0.4.6
4.创建本地目录
(1)这是要创建的本地目录路径,这个目录将用于挂载到容器中,存储模型文件。如图:
mkdir -p ./funasr-runtime-resources/models

5.启动镜像
(1)镜像拉取成功后启动镜像,官方是前台启动的,我这里的是后台启动的,这样不用担心关闭窗口服务就断了,命令如下:
sudo docker run -d -p 10095:10095 -it --privileged=true -v $PWD/funasr-runtime-resources/models:/workspace/models registry.cn-hangzhou.aliyuncs.com/funasr_repo/funasr:funasr-runtime-sdk-cpu-0.4.6
(2)运行后可以输入以下命令查看,运行是否成功,成功如下图:
docker ps

6.进入容器并启动服务
(1)上面已经查出容器的CONTAINER ID ,输入下面命令进入,记得替换成你的ID,如图
docker exec -it a941fe3c5084 /bin/bash

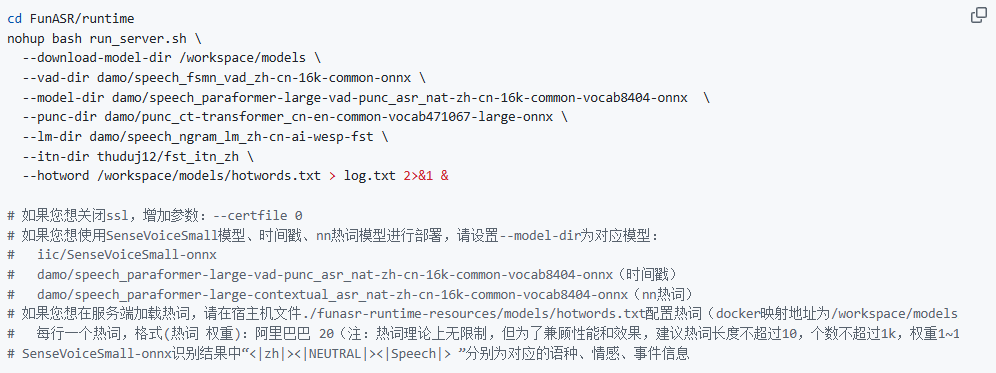
(2)进到启动服务的脚本目录
cd FunASR/runtime

(3)启动服务,我这里在官方原有的命令上加了“–certfile 0”意思是关闭ssl,命令如下:
nohup bash run_server.sh --download-model-dir /workspace/models --certfile 0 --vad-dir damo/speech_fsmn_vad_zh-cn-16k-common-onnx --model-dir damo/speech_paraformer-large-vad-punc_asr_nat-zh-cn-16k-common-vocab8404-onnx --punc-dir damo/punc_ct-transformer_cn-en-common-vocab471067-large-onnx --lm-dir damo/speech_ngram_lm_zh-cn-ai-wesp-fst --itn-dir thuduj12/fst_itn_zh --hotword /workspace/models/hotwords.txt > log.txt 2>&1 &

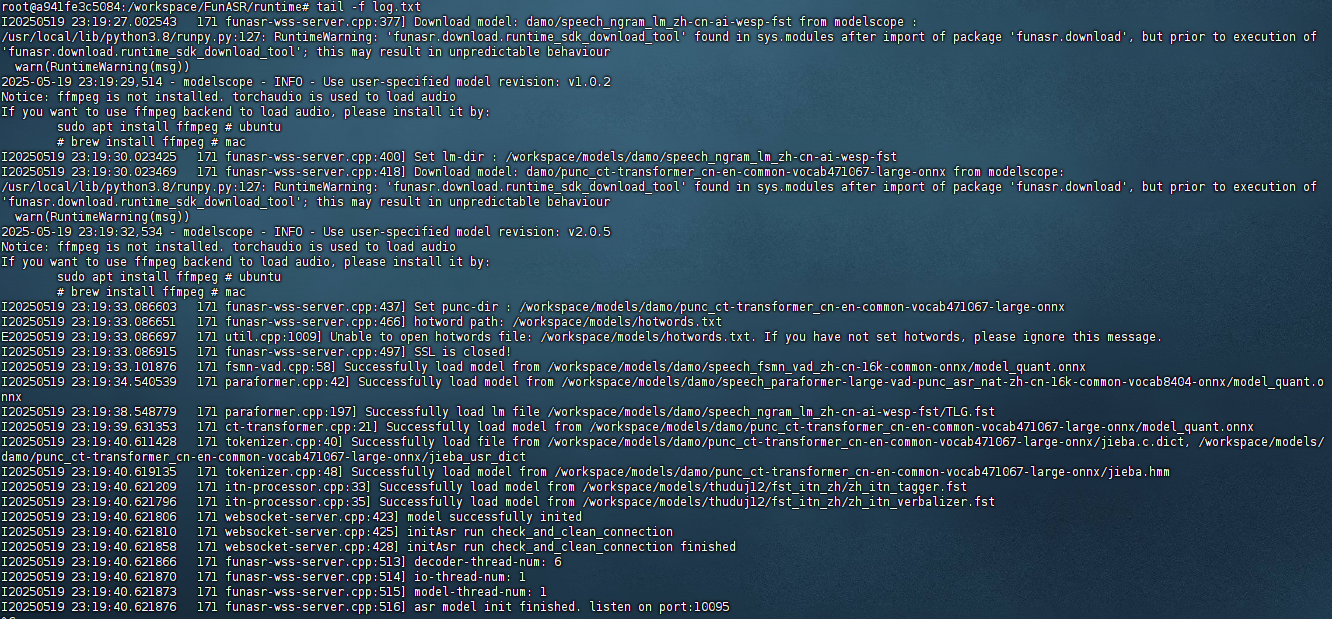
(4)运行以下命令可以查看模型下载是否有错,正常的会如图:
tail -f log.txt
7.配置nginx实现高并发
nginx.conf的文件配置如下,记得要重启nginx,没安装nginx的可以去找我之前的文章,有链接:
worker_processes auto;              # 自动绑定 CPU 核心:contentReference[oaicite:24]{index=24}
worker_rlimit_nofile 200000;        # 打开文件数上限:contentReference[oaicite:25]{index=25}

events {
    use epoll;                      # Linux 下高效事件模型:contentReference[oaicite:26]{index=26}
    worker_connections 65536;       # 每个进程最大连接数:contentReference[oaicite:27]{index=27}
    multi_accept on;                # 同时接受多连接:contentReference[oaicite:28]{index=28}
}

http {
    include       mime.types;
    default_type  application/octet-stream;

    map $http_upgrade $connection_upgrade {
        default upgrade;             # 升级为 WebSocket:contentReference[oaicite:29]{index=29}
        ''      close;               # 普通 HTTP 连接:contentReference[oaicite:30]{index=30}
    }

    server {
        listen       10096;              # 对外监听 10096 并启用 SSL:contentReference[oaicite:31]{index=31}
        server_name  _;                      # 支持任意 Host


        location / {
            proxy_pass              http://127.0.0.1:10095; # 上游 WS 服务:contentReference[oaicite:34]{index=34}
            proxy_http_version      1.1;                        # 必须:contentReference[oaicite:35]{index=35}
            proxy_set_header        Upgrade $http_upgrade;      # 握手头:contentReference[oaicite:36]{index=36}
            proxy_set_header        Connection $connection_upgrade; # 握手头:contentReference[oaicite:37]{index=37}
            proxy_set_header        Host $host;                 # 保持 Host:contentReference[oaicite:38]{index=38}
            proxy_read_timeout      36000s;                      # 延长超时:contentReference[oaicite:39]{index=39}
            proxy_send_timeout      36000s;                      # 延长超时:contentReference[oaicite:40]{index=40}
        }
    }
}
8.打开服务器防火墙对应的端口
端口:10096(TCP)端口要跟上面的对应
9.测试
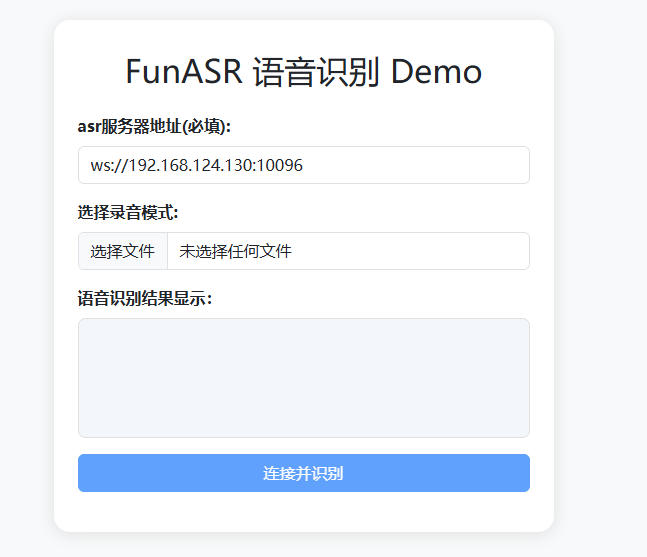
(1)使用浏览器打开上面的下载的html文件,记得换成你服务的IP地址
(2)选择音频文件,支持多种音频格式输入(.wav, .pcm, .mp3等),输出也是流式输出
附言:
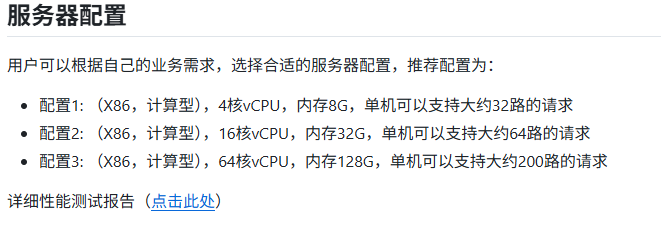
如果你想做高并发,记得先看看官方的测评